MGMT Orthopedic Implants
Choosing exercise after joint replacement or fracture fixation requires more than general fitness advice. Implant type, surgical approach, bone quality, healing progress, and daily pain can change the safest plan. So, what exercises are safe with orthopedic implants? The answer is personal, not universal. A total knee replacement may tolerate steady cycling, while a healing spinal fusion may need stricter limits. Your orthopedic surgeon and physical therapist should guide progression, especially during the first weeks.
This guide introduces ten commonly recommended activities, including walking, swimming, stationary cycling, and controlled strengthening. Each can support mobility when performed with proper technique and medical clearance. Picture a quiet pool, a low-resistance bike, or a resistance band stretched slowly beside a chair. Small details matter. Keep movements smooth, avoid sudden twisting, and stop when sharp pain, swelling, or unusual warmth appears. Discomfort can be confusing, and not every ache signals damage. Still, ignoring warning signs is unwise.
Clinical experience supports gradual loading, but research does not provide one perfect routine for every implant. That limitation deserves attention. The recommendations here are educational, not a substitute for individualized care. Your surgeon may modify them after examining X-rays, strength, balance, and wound healing. Start conservatively. Track symptoms after exercise, not only during it. With professional supervision, many people regain confidence, endurance, and useful everyday movement without treating an implant as a permanent barrier.
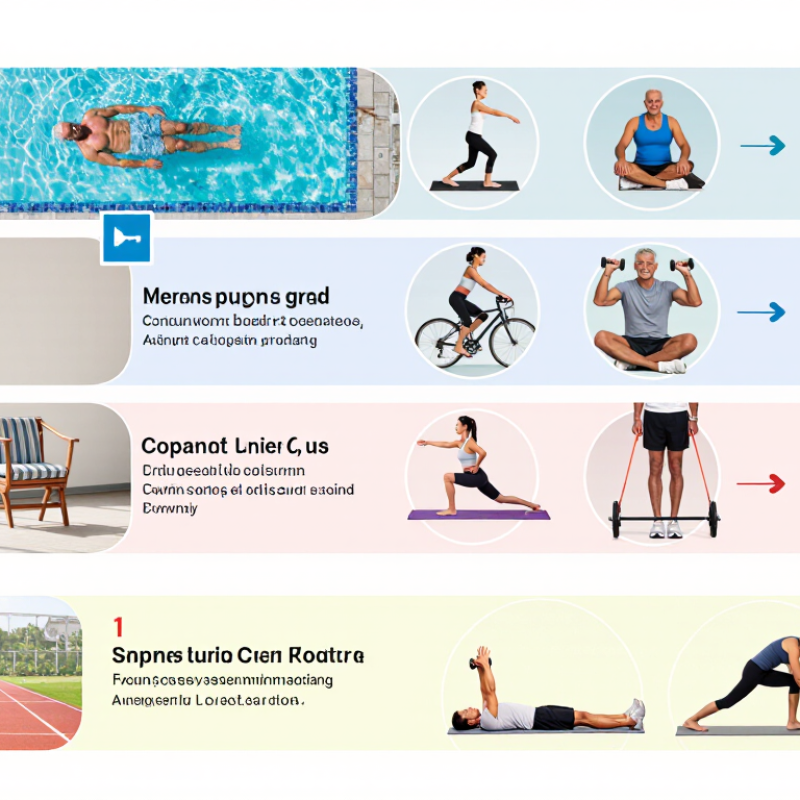
Top 10 Safe Exercises With Orthopedic Implants
Understanding Exercise Safety With Orthopedic Implants
Exercise can support strength, balance, circulation, and confidence after orthopedic surgery. However, safety depends on the implant’s location, surgical technique, healing stage, and your current movement pattern. A generic list cannot replace clearance from your surgeon or physical therapist. I would not treat “low impact” as automatically risk-free.
Common options may include walking, stationary cycling, water walking, swimming, elliptical training, gentle yoga, modified Pilates, resistance-band exercises, light weights, and balance drills. Begin with controlled movements, stable footwear, and a surface without clutter. For example, try five minutes of easy cycling before increasing resistance. Keep your breathing steady, and avoid forcing a joint through pain. Sudden swelling, warmth, clicking with pain, numbness, or unusual instability deserves prompt medical advice.
Tips: Follow your rehabilitation plan and ask when each exercise is appropriate. Increase only one factor at a time, such as duration or resistance. Stop before fatigue changes your posture. Avoid jumping, running, deep twisting, and heavy lifting until your clinical team approves them. A small notebook can record pain, swelling, and recovery time after each session. Plans are not perfect; a routine that worked last week may need adjustment today. Pain is not always a sign of damage, but it should never be ignored.
Assessing implant stability and personal exercise readiness matters more than copying a popular exercise list. A joint replacement, spinal implant, or fixation device needs individual guidance. Your surgeon or physical therapist should confirm healing, weight-bearing limits, and movement restrictions before exercise.
Imaging, wound healing, strength, and daily comfort can help assess stability. Pain-free movement is useful, but it is not the whole test.
When cleared, gentle options may include walking, water walking, swimming, stationary cycling, elliptical training, low step-ups, wall squats, bridges, resistance-band rows, and supported balance practice. Begin with five to ten minutes. Keep your breathing steady. Avoid sudden twisting, jumping, heavy lifting, or deep positions unless specifically approved. Stop if swelling, sharp pain, unusual warmth, weakness, or joint shifting appears. Small changes matter.
Readiness is personal. Can you walk evenly? Can you control the movement without holding your breath? Can symptoms settle within a day? These questions are often more valuable than a rigid schedule.
Progress slowly, even when motivation feels high. I would rather see a patient undertrain briefly than ignore a warning sign. Recovery is not perfectly predictable. A missed week does not mean failure, and a strong day does not prove full implant stability. Reassessment remains important as exercise becomes harder.
After orthopedic implant surgery, low-impact movement can support joint function, muscle strength, and confidence. It should match healing progress.
The World Health Organization’s 2020 Guidelines recommend 150–300 minutes of moderate aerobic activity weekly, when medically appropriate. That target may feel unrealistic during recovery. Walking, pool walking, stationary cycling, swimming, elliptical training, rowing, tai chi, gentle yoga, resistance-band work, and light strength training offer practical options. Keep movements controlled. Avoid sharp pain, swelling, or unusual clicking.
Start with five-minute sessions and observe the next day. A calm knee today may become swollen tomorrow. The American College of Sports Medicine recommends gradual progression, with strength exercises on at least two weekly days for many adults. However, implant type, surgical approach, bone quality, and balance ability change the safest plan. A physiotherapist can check gait, stair control, and exercise form before adding resistance. Swimming requires a fully healed incision. Deep squats, jumping, running, and twisting may need longer restrictions. These exercises are not automatically safe for everyone, and I would not treat a general list as personal medical clearance.
People with orthopedic implants can often rebuild strength, balance, and mobility through carefully modified exercise. The safest choices depend on the implant, surgical approach, healing stage, and medical guidance. A physiotherapist should confirm your movement limits before training.
Ten commonly useful options include:
Keep movements slow and controlled. A replacement joint should not be forced into deep bending or twisting. Start with five repetitions, then increase gradually if swelling stays calm. Stop if pain feels sharp, unstable, or different from normal muscle fatigue. I once underestimated how quickly balance work could exhaust a recovering leg. That was a useful correction.
Tips: Use a stable chair, counter, or rail for support. Wear secure, flat shoes. Keep the surgical area aligned with your toes and knees. Breathe normally instead of holding your breath. Ice and elevation may help after exercise, if your care team approves. Mild effort is acceptable; increasing redness, warmth, drainage, severe swelling, fever, calf pain, or sudden weakness requires prompt medical advice. Avoid jumping, running, heavy lifting, and high-impact twisting until your clinician clears them. Progress can feel uneven, and that is not necessarily failure. However, persistent setbacks deserve a professional review.
Top 10 Safe Exercises With Orthopedic Implants?
Safety Precautions, Progression, and Warning Signs During Exercise
Exercise after orthopedic implant surgery should follow your surgeon’s restrictions and a physical therapist’s assessment. The implant location, healing stage, bone quality, and surgical approach all matter. Generally suitable options may include walking, water walking, stationary cycling, swimming after wound healing, elliptical training, gentle yoga, Pilates, resistance-band exercises, light strength training, and balance drills. Do not treat this list as automatic permission.
Start with five to ten comfortable minutes. Keep movements slow and controlled. Increase only one factor at a time, such as duration or resistance. A small increase each week is often reasonable, but pain should guide the pace. Mild muscle fatigue can be normal. Sharp pain is not. Real recovery is rarely tidy. Some days may require less exercise, and that is not failure.
Stop and contact your care team if pain increases during or after activity, swelling persists, or the joint feels unstable. Watch for warmth, redness, drainage, fever, or a new grinding sensation with pain. Sudden calf swelling, severe shortness of breath, or chest pain requires urgent medical attention. Supportive shoes, a stable surface, and proper technique reduce risk. Recheck your plan before adding jumps, deep bends, heavy lifting, or twisting. Clearance can change as healing progresses.
| No. | Exercise | Potential Benefits | Suggested Progression | Key Safety Precautions | Warning Signs to Stop and Seek Medical Advice |
|---|---|---|---|---|---|
| 1 | Walking on a Level Surface | Builds cardiovascular fitness, walking tolerance, leg strength, and confidence with relatively low joint impact. | Begin with short, comfortable walks and increase duration gradually. Add distance before increasing speed or using inclines. | Use a stable, nonslip surface and supportive footwear. Maintain an upright posture and use an assistive device if prescribed. | New or increasing joint pain, limping, marked swelling, loss of balance, chest discomfort, unusual breathlessness, or calf pain and swelling. |
| 2 | Stationary Cycling | Provides low-impact aerobic conditioning and controlled movement for the hips, knees, or ankles. | Start with low resistance for 5–10 minutes. Increase time gradually, then add resistance only if movement remains smooth and pain-free. | Adjust the seat so the knee is slightly bent at the lowest pedal position. Keep resistance light and avoid standing on the pedals unless cleared. | Sharp joint pain, catching or locking, increased warmth or swelling, persistent pain after exercise, or inability to complete a smooth pedal cycle. |
| 3 | Water Walking or Pool Exercise | Water buoyancy reduces joint loading while providing gentle resistance for mobility and conditioning. | Start in waist- to chest-deep water with brief sessions. Progress by adding time, direction changes, or gentle resistance from the water. | Use only after the incision is fully healed and the surgeon permits pool exposure. Enter and exit carefully; avoid slippery surfaces and forceful movements. | Drainage or opening of the incision, increased redness, fever, dizziness, shortness of breath, or pain that worsens during or after the session. |
| 4 | Range-of-Motion Exercises | Helps maintain or gradually restore joint mobility and supports normal movement patterns. | Perform slow, controlled repetitions within the range prescribed by the rehabilitation professional. Increase range only as healing allows. | Respect implant-specific movement restrictions. Do not force a stretch, bounce, twist, or move into a sharp end-range sensation. | Sudden severe pain, a popping sensation, a feeling that the joint has shifted, new instability, or rapidly increasing swelling. |
| 5 | Light Resistance Training | Improves muscle strength, joint support, functional movement, and bone loading when appropriately prescribed. | Begin with body weight, light bands, or very low loads. Increase one variable at a time, usually by a small amount, while maintaining good form. | Use controlled repetitions and avoid breath-holding, jerking, deep loaded positions, and heavy lifting until specifically cleared. | Persistent or escalating pain, unusual clicking with pain, visible deformity, sudden weakness, significant swelling, or symptoms that last into the next day. |
| 6 | Core Stabilization | Supports posture, balance, and controlled transfer of forces through the spine, pelvis, and lower limbs. | Start with gentle abdominal bracing and supported exercises. Progress to more challenging positions only when breathing and alignment remain controlled. | Avoid excessive spinal twisting, high-impact abdominal exercises, and positions restricted by the surgical team or implant type. | New or worsening back pain, radiating pain, numbness, weakness, loss of bowel or bladder control, or pain around the operated joint. |
| 7 | Balance and Proprioception Training | Can improve stability, lower-limb control, and confidence while reducing fall risk. | Begin near a counter or sturdy support with both feet on the floor. Progress to narrower stance, tandem stance, or brief single-leg work when safe. | Exercise in a clear area with supervision if balance is limited. Do not use unstable equipment early in recovery or without professional guidance. | A near-fall, repeated loss of balance, sudden joint giving way, severe dizziness, or new pain after a twisting movement. |
| 8 | Elliptical Training | Offers low-impact cardiovascular exercise with less repetitive shock than running and controlled foot placement. | Consider it after basic walking is comfortable and approved. Begin with low resistance for short intervals, then gradually extend duration. | Hold the fixed handles if needed, keep steps controlled, and avoid high resistance or rapid acceleration. Confirm suitability for the specific implant. | Joint instability, painful clicking, altered gait, increasing swelling, sharp pain, or symptoms that do not settle with rest. |
| 9 | Modified Yoga or Gentle Stretching | May support flexibility, breathing, body awareness, and relaxation when positions are adapted to surgical restrictions. | Use supported, short-duration positions. Progress by improving comfort and control rather than forcing a deeper stretch. | Avoid extreme hip, knee, shoulder, or spinal positions, deep twisting, kneeling pressure, and transitions that challenge balance unless cleared. | Sharp pain, a sensation of instability, joint catching, numbness, tingling, or pain that increases after the session. |
| 10 | Low-Impact Aerobic Classes | Can improve endurance, coordination, mood, and general fitness without repeated running or jumping. | Choose a beginner or rehabilitation-level class. Start with low-impact steps and shorter sessions; increase intensity only after consistent tolerance. | Modify or omit jumping, pivoting, deep squats, rapid turns, and high-resistance movements. Tell the instructor about movement restrictions. | Chest pain, faintness, unusual breathlessness, sudden joint pain, significant swelling, loss of coordination, or a new limp. |
| Safety varies with the implant location, surgical technique, healing status, bone quality, medical conditions, and rehabilitation plan. Obtain individualized clearance from the orthopedic surgeon or physical therapist before starting or progressing exercise. Mild muscle fatigue may be expected, but increasing joint pain, warmth, redness, drainage, fever, sudden swelling, or a feeling of instability requires prompt medical evaluation. | |||||
Your surgeon or physical therapist should confirm healing and movement limits. Imaging, wound healing, strength, and daily comfort also matter. Pain-free movement helps, but it proves nothing alone.
Walking, water walking, stationary cycling, swimming after wound healing, and elliptical training may be suitable. Gentle yoga, bridges, wall squats, band rows, and balance drills can also help. Approval remains individual.
Start with five to ten comfortable minutes. Keep your breathing steady. Stop before your movement becomes sloppy. A short session is enough.
Increase only one factor at a time, such as duration or resistance. A small weekly increase may be reasonable. Do not trust one unusually strong day. Recovery can change.
Stop for sharp pain, increasing swelling, unusual warmth, weakness, or a shifting sensation. Persistent pain after activity also needs attention. Mild muscle fatigue can be normal. Sharp pain is not.
Avoid sudden twisting, jumping, deep bends, and heavy lifting without clearance. These movements can exceed current healing limits. Use slow, controlled motion instead. Technique matters.
Sudden calf swelling, severe shortness of breath, or chest pain requires urgent medical attention. Contact your care team for redness, drainage, fever, or painful grinding. Do not wait and hope.
Wear supportive shoes and use a stable, uncluttered surface. Keep a chair or rail nearby during balance practice. Recheck your plan before adding resistance. I may feel ready too early.
Exercise with orthopedic implants can support mobility, strength, balance, and confidence when introduced carefully and guided by a healthcare professional. The question “What exercises are safe with orthopedic implants” depends on the implant’s location, healing progress, stability, overall health, and previous activity level. Low-impact options such as walking, stationary cycling, water exercise, and gentle range-of-motion movements may reduce stress on joints and bones while promoting circulation and flexibility. Before beginning, individuals should confirm that the implant is stable and that their body is ready for activity.
With proper modifications, light resistance exercises, core strengthening, balance drills, and controlled stretching can help improve daily function without excessive strain. Progress should be gradual, with attention to posture, technique, and recovery time. Stop exercising and seek medical advice if there is increasing pain, swelling, unusual warmth, instability, numbness, or a sudden loss of function. Regular professional assessment can help create a safe, personalized routine and prevent overuse or avoidable complications.
